

How To DIY Fireplace Remodel
/
Remodeling a Boring Fireplace to a Beautiful Statement Piece!
As part of my livingroom remodel, I changed the existing wood burning fireplace from a boring extension of the wall to the central design element of the room. Upgrading this element of the space made the entire room look bigger and really added to the overall character of the room.

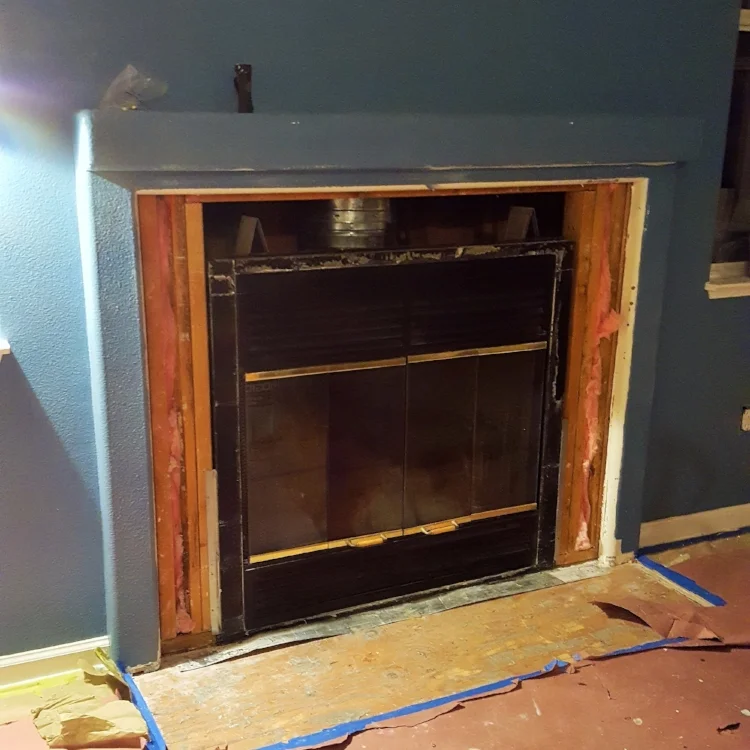
Before:
The original boring fireplace
There was the challenge in that the fireplace was surrounded by an existing frame that was an extension of the wall. Having the opportunity to start from a flat wall is preferable, but it is possible to build a cosmetic frame around existing framework as was done in this case. The old tile was worn and broken as well as being generally unattractive. In addition, the black fireplace insert was black and didn't match the overall style of the house.
Step 1: Removing the Old Tile
This part is a pain - no sugarcoating it. Removal of the hearth tile at the foot of the fireplace remains my mother's least favorite task of the entire house remodel. It requires that you hit the old tile with a hammer to break it up, then use a combination of a chisel and crowbar to break up the tile pieces and underlying thinset and tile board.
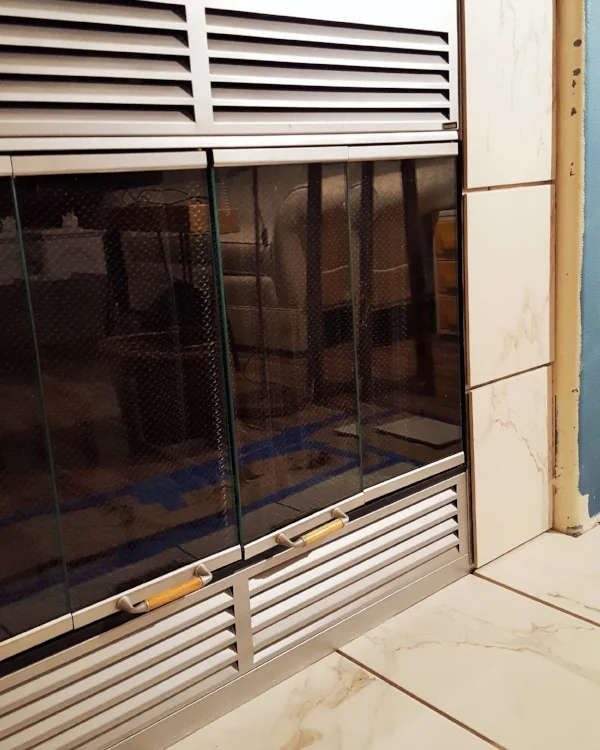
Step 2: Repaint the Fireplace & Set the New Tile
The inside of the fireplace had scorch marks on the tan-colored ceramic sheets. It repainted the inside of the fireplace with high heat spray paint in black. The outside of the fireplace got a fresh coat of silver paint, including the previously gold trim to give it a more modern look.
The tile used was 24"x12" porcelain floor tiles from Home Depot, and cost a total of less than $45. When selecting your tiles and choosing their placement, pay attention to the design on them. By choosing tiles like the ones pictured that have a design intended to be reminiscent of grain in stone, taking the time to line the pattern up and determine the overall flow of the pattern, taking any necessary cuts into consideration, is well worth your time. Use painters tape to make labels numbering the tiles and indicating the direction that they are to face. When you are cutting tiles, its very helpful to have this marked beforehand.
In this case, the original tile was raised up above the surrounding floor by about half an inch. When we laid the new tile, this was eliminated by using Ditra instead of thicker tile backer board. Then the boarder was framed by threshold pieces matching the surrounding wood laminate flooring.
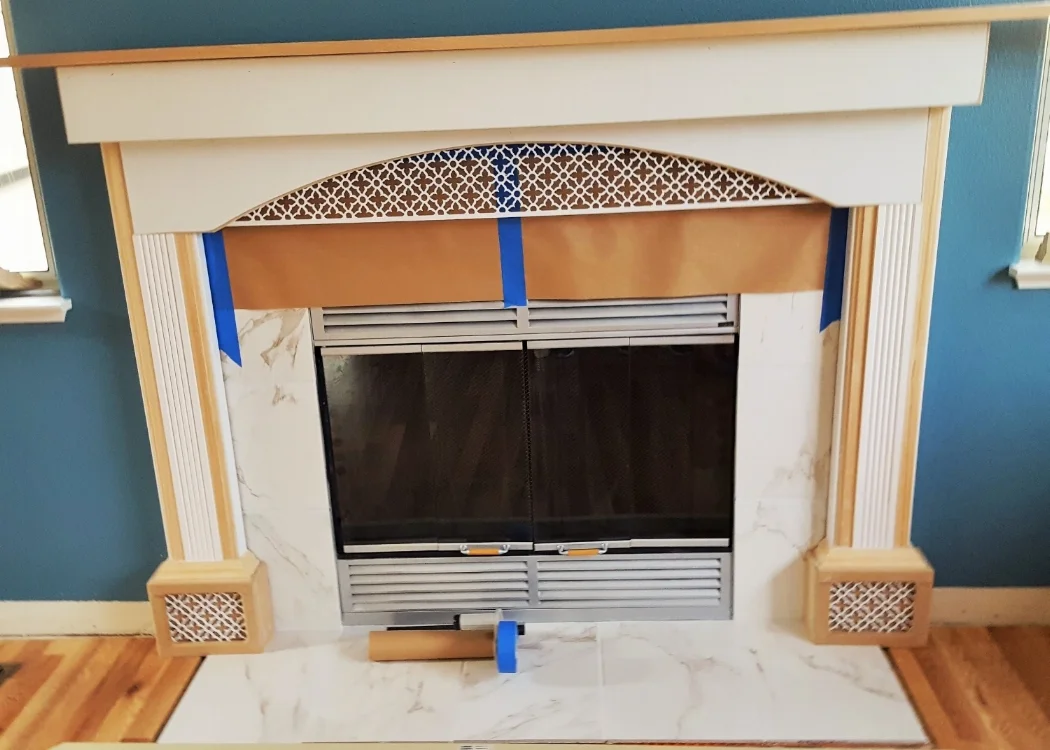
Step 3: Build Mantle & Legs
The mantle for this fireplace was made using a lovely piece of red oak, which was stained and coated with polyurethane to match the remodeled red oak stairs (click here). The rest of the frame and the legs were built from four different designs of molding, MDF for the flat sections, and a gorgeous 5' length of laser cut wood from Lightwave Laser* (website here). After the moldings were cut, assembled, nailed & glued, they were painted with the white trim paint used throughout the rest of the house.
The frame itself is essentially a box built around and attached to the original structure of the fireplace frame.
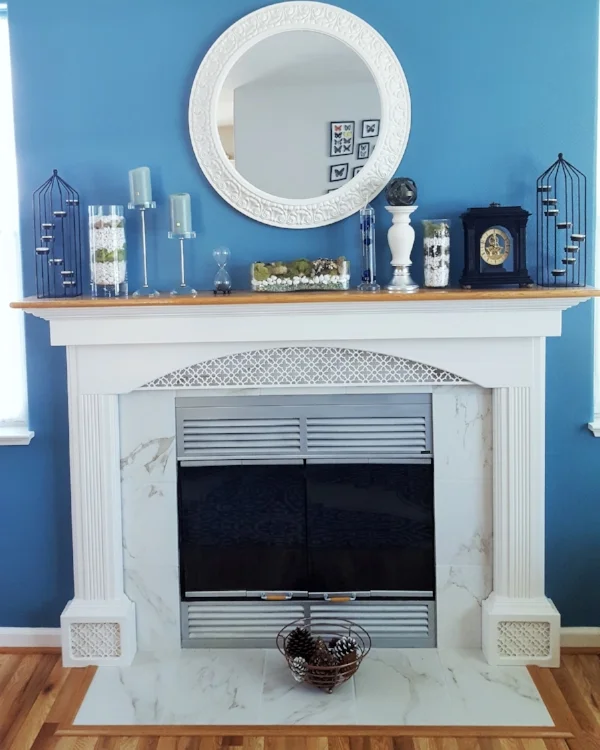
Step 4: Finishing Touches & Decoration
The best part of having a mantle is decorating it! This part is entirely up to your own personal style. I chose an eclectic combination of items and some moss terrariums. I like to occasionally change up my mantle decorations when I find something new, or to match the seasons. Take the opportunity to be creative!
*Lightwave Laser did not sponsor or endorse this post, nor was any monetary or material compensation received from the company.